

In the first two parts of this series, The Secret of Speed Tests Part I and Part II, the discussion has focused on the logistics conducting weekly speed drills/Mad Minute. This post will focus on the critical element in doing speed drills, that is, providing immediate feedback.
Why do I believe this is so critical? Your students can do Mad Minute every week, but if there is no immediate feedback with their right and wrong responses, the brain can not re-create/strengthen the neural connections and move facts into long-term memory that create the speed and accuracy that we are trying to achieve.
The processes outlined in these posts were done with seventh grade students, so there will need to be adaptations for younger grades. However, the key is getting the students to see and recognize their correct and incorrect responses on their own. So, as you read through this post, compare with a traditional ‘process’ of a doing speed tests:
- Students complete a speed test/speed drill and turn in to teacher
- Teacher grades the test at the end of the day/during planning
- Teacher hands the test back the next day and puts the final number correct on top of the page (or how many they missed)
- Students sees how many they missed/got correct
- Students jam speed test in folder/backpack/trashcan
What’s missing here? No real, corrective feedback: Students do not ‘study their results’ to determine what they missed and what they got correct. Neural connections will never be changed (for incorrect answers) or strengthened (or correct answers). Also, students will not remember what they scored on the last speed test, so they won’t know they are improving or not.
SO…how do we get feedback to the students? By Self-grading and charting their own results.
One side of the Mad Minute Sheets I used had the problems (which the students completed on their sheet protectors), and the opposite side had the problems completely solved. As soon as the minute was finished, students would self-grade their speed drills by flipping the sheet over (taking out the sheet from the protector) and comparing with their answers.
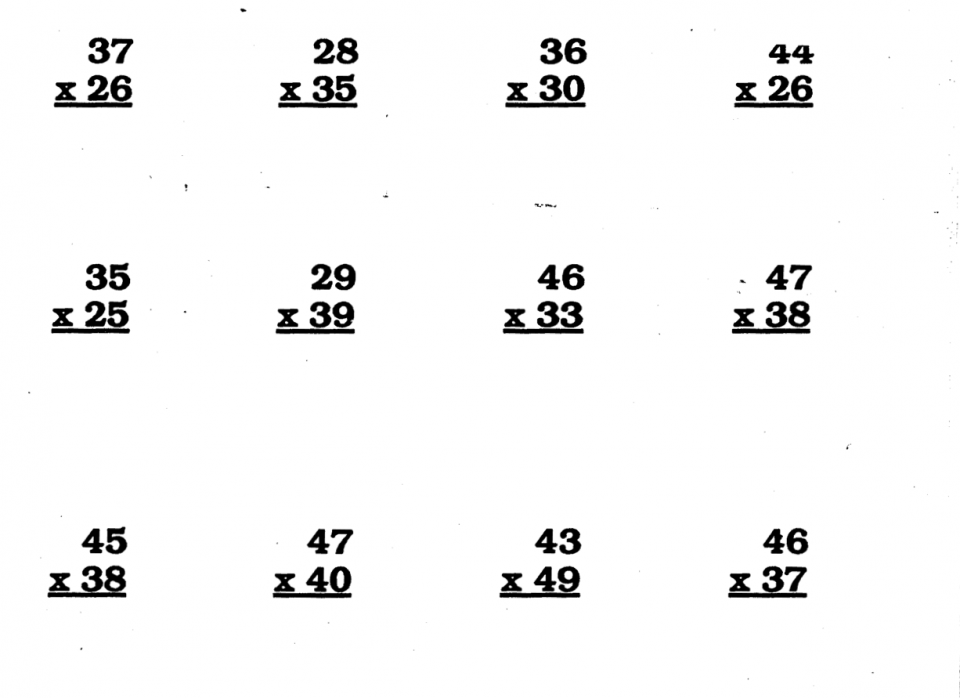
Mad Minute Sheet Problem Side
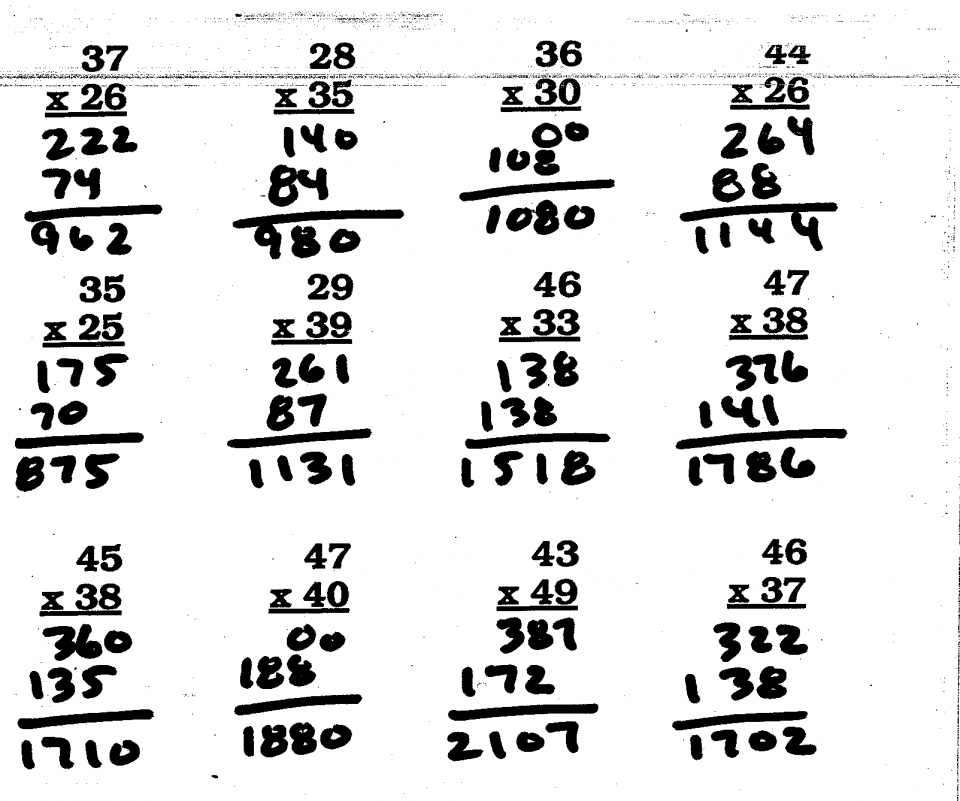
Mad Minute Sheet Answer Side
For grading, they counted each individual correct digit; that is, each digit in the partial products in the long multiplication problem. This gives a more accurate ‘fluency rate’ (correct digits/minute) value as some kids may only get 2 or 3 problems completed. This also allowed for more variance your final scores, so students can see small gains in their weekly drills.
I also believe it is important that these weekly drills are NOT part of a quiz/test/classwork grade. Therefore, there is no reason for them to grade incorrectly, because there is no ‘advantage’ by cheating on the grading. Additionally, by not requiring students to meet a standard, this allows them to grow at their own pace and not having additional pressure of not ‘scoring high enough’. I believe this also ‘allows students to fail’ with no consequences.
The second part of the immediate feedback was the Progress Graphs. After grading and determining their score, each student graphs their results. This is done over the entire school year; by plotting this score each week, students will see for themselves getting faster/more accurate.
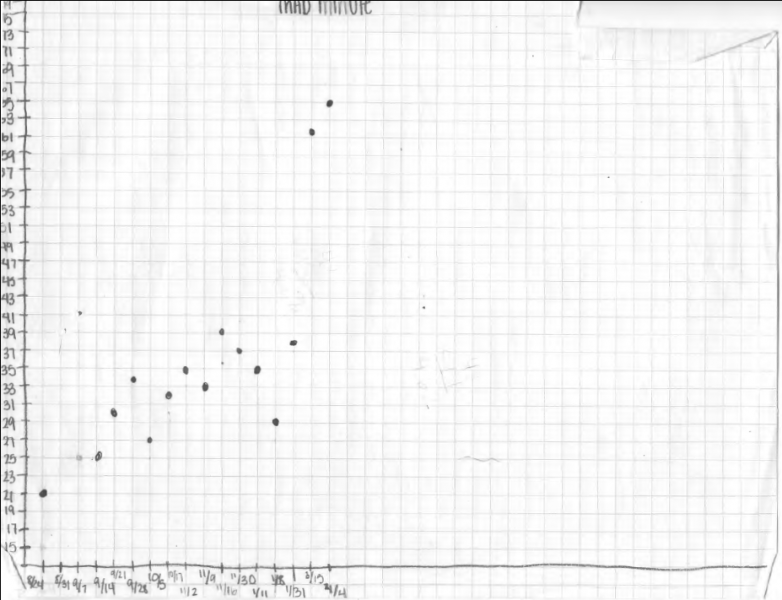
Mad Minute results after a year; y-axis is number of correct digits, x-axis is date
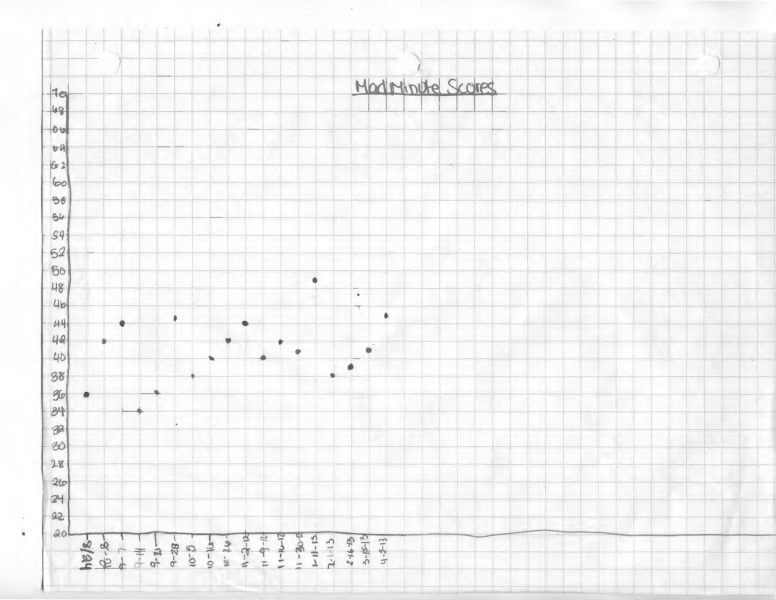
Notice the points trend upwards after each date, dips in points when the Mad Minute sheet changes
It is also important to change the Mad Minute sheet once every three to four weeks. You can do this by going up to the next sheet or returning to a previous easier problem set, just so the students are not doing the same sheet too many times in a row. This also implements gradual increases in difficulty also required for building fluency.
So, doing speed drills as outlined in this series will meet the 5 Keys to Building Fluency:
- Repetition
- Time Constraints
- Immediate Feedback
- Allow for Failure
- Gradual Increases in Difficulty.
In the next series of posts, I will discuss using Addition Blocks and Multiplication Blocks specifically for building fluency…